Your roof is your home’s first line of defence against rain, sun, wind, and everything in between. While it’s easy to take for granted, keeping your roof in good condition is one of the most important things you can do to protect your property and avoid costly repairs.
The good news? You don’t always need a professional to spot the early signs of roof trouble. With a simple inspection checklist, you can catch small problems before they become expensive ones.
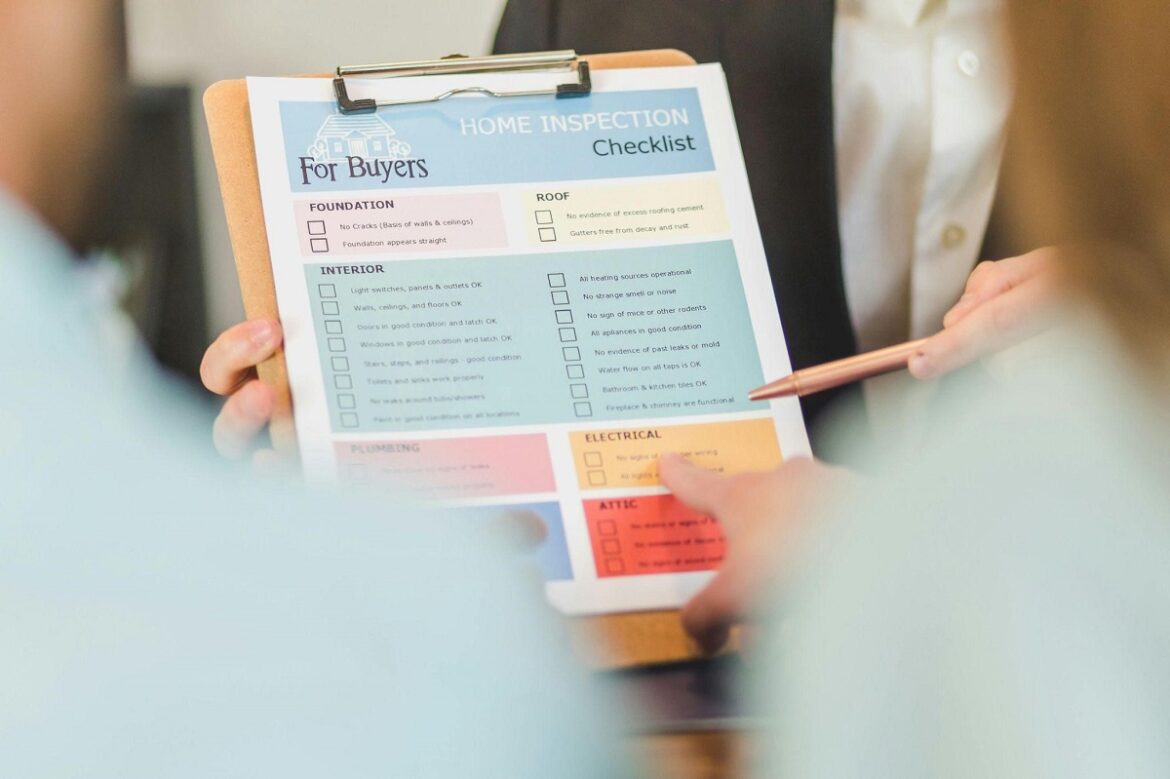
How to safely and effectively inspect your roof
1. Start with a Ground-Level Visual Check
Begin by walking around your house and observing your roof from different angles. You’ll be surprised how much you can spot just from the ground. Use binoculars if needed. Look for:
● Broken, missing, or dislodged tiles
● Rust or corrosion on metal sheets or flashings
● Sagging areas or uneven rooflines
● Large debris or leaves collecting in the roof valleys
Pay attention to parts of the roof near chimneys, skylights, or antennas—these are common trouble spots.
2. Check Inside the House
Head into your attic or roof cavity (if accessible), and look for:
● Dark spots or water stains on the ceiling or rafters
● Mould or musty smells
● Signs of daylight coming through cracks or gaps
Discolouration on ceilings or walls inside your home could point to hidden roof leaks, especially after heavy rain.
3. Examine the Gutters and Downpipes
Clogged or damaged gutters can cause water to back up under your roof. Check for:
● Leaf build-up or debris in the gutter
● Sagging sections or rusted joints
● Proper flow of water away from the foundation
Clean out the gutters if needed and ensure downpipes are directing water well away from your home’s base.
4. Review the Flashings and Seals
Flashings are the metal strips around chimneys, skylights, and roof edges that prevent water from seeping in. Look for:
● Cracks or rust on flashings
● Lifted edges or separation from the roof surface
● Crumbling sealant or caulking around vents and pipes
Small issues with flashing can lead to major leaks if not addressed early.
5. Check for Wear and Tear on Tiles or Metal Sheets
If it’s safe and you’re confident using a ladder, get a closer look at the surface. Look out for:
● Tiled roofs: Cracked, chipped, or porous tiles
● Metal roofs: Rust, corrosion, or loose fasteners
● Signs of moss, mould, or lichen, which can trap moisture and damage the material underneath
This is also a great time to look at the general condition of the roof paint—fading or flaking may mean it’s time for a refresh.
6. Evaluate the Overall Condition of the Roof
The more you inspect, the more you’ll realise that there’s no set formula for determining the roof restoration cost in Brisbane. It depends on various factors like the roof’s size and slope, damage extent, access complexity, and the materials required. What looks like a simple repair from the ground may turn into a more involved project once professionals assess it. That’s why a DIY inspection is a significant first step—it gives you a clearer understanding of what needs attention and helps you speak confidently when getting quotes.
7. Keep an Eye on Roof Valleys and Ridge Cappings
These are the areas where leaks are most likely to occur. Roof valleys can become clogged with debris, while ridge cappings may suffer from cracks or loose bedding. Make sure everything is clean, secure, and properly sealed.
8. Create a Documentation Trail
As you move through the checklist, take photos of anything unusual. Note the date of your inspection, and keep a record of what you found. These notes are handy if you decide to get a professional involved or want to monitor changes over time.
9. Know When to Call in the Experts
While a DIY inspection is helpful, there are times when it’s best to bring in professionals. Suppose you spot persistent leaks, severe tile damage, or signs of structural movement. In that case, a qualified roofer can thoroughly assess and safely and efficiently perform repairs. A professional inspection might also reveal other issues if you’re preparing your home for sale or dealing with an older roof.
10. Make It a Seasonal Habit
Roof maintenance shouldn’t be a once-a-decade activity. Aim to inspect your roof at least twice a year—once before the summer storms and again after winter. Heavy winds, rain, and fallen branches can all create new vulnerabilities. The more proactive you are, the longer your roof will serve you well.
Give Your Roof the Finish It Deserves
Doing your own roof inspection puts you in control. You can identify potential issues early, save on costly repairs, and keep your home safe and sound. And when it’s time to breathe new life into your roof, don’t underestimate the impact of a fresh coat of paint. With so many roof paint colours available today, from timeless charcoals to crisp modern whites, you can boost your home’s street appeal and choose finishes that improve energy efficiency.
At Brisbane Roof and Paint, we’re here to help you every step of the way. Whether it’s a full restoration, a colour consultation, or a fresh coat of paint to protect your roof from the elements, our experienced team is ready to deliver quality workmanship and honest advice.